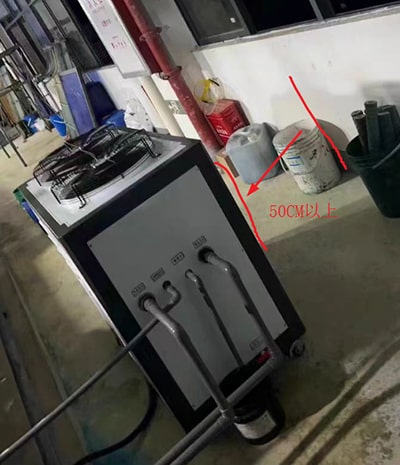
1.Installation environment: It is best to install it at a distance of more than 50 cm from the wall. The operating environment is preferably below 45°C. The air-cooled chiller needs to have a good heat dissipation environment while cooling.
2.Connect the water pipe: Connect the water pipes of the water inlet and outlet of the air-cooled chiller. 5HP can be connected with 1-inch PVC water pipes. If it is connected to an injection molding machine, you can also install the required water drain and connect it to the injection molding machine mold water pipe. The water supply port is connected to the tap water pipe. The ball valve is in the open state during use. The drain port takes out the valve of the electric control box and connects it to the closed state. The water tank needs to be filled with water.

4.Connect the power supply: 3-phase 380V50HZ, connect 3 live wires, 1 neutral wire and 1 ground wire.
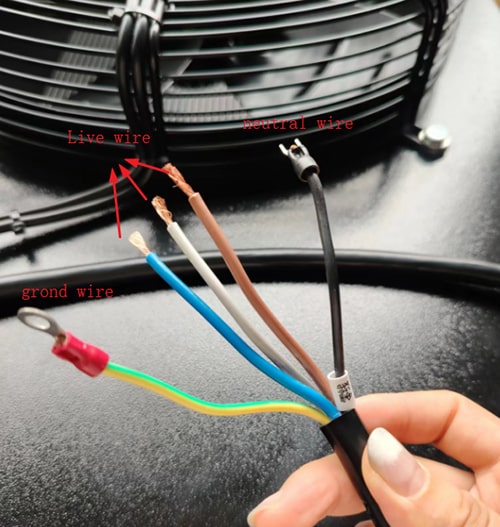
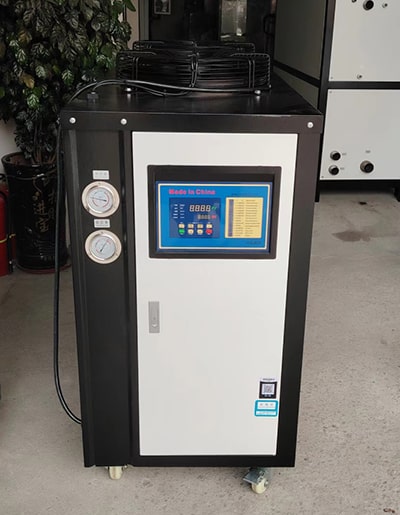
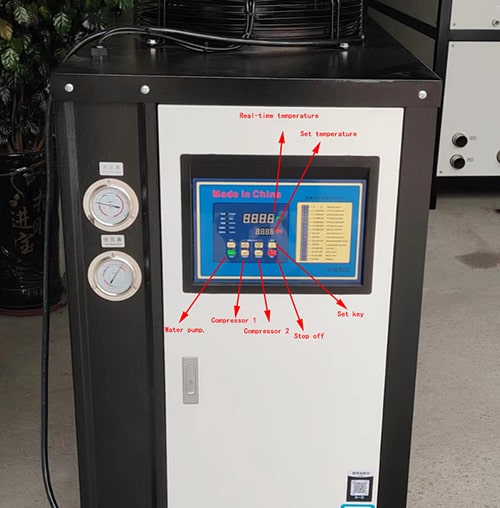
5.Start the chiller: turn it on in sequence, "Start" - "Compressor 1" (within 6HP). If it is above 8HP, you need to press "Compressor 2". Please note that you cannot press the compressor first and then press start. Start represents the water pump. If you want to adjust the temperature, press the "Set" arrow upward to adjust the temperature upward, and the arrow downward to adjust the temperature downward. Set it according to the required temperature value and then press set to complete the cooling work. When the air-cooled chiller is not in use, press the compressor first, then the water pump, and then stop. This can better protect the service life of the compressor.
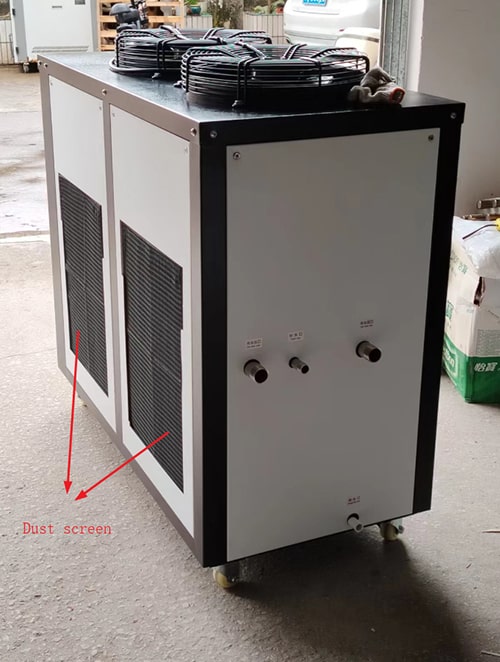
6.Use environment: During use, if the workshop environment is dusty, the fin condenser needs to be cleaned regularly, and you can use an air gun to blow it. Note that the black dust screens on both sides cannot be disassembled during use. Otherwise, the condenser is easily blocked, which affects heat dissipation and refrigeration.
